TUTORIAL 1 - Tables
The first Access object we will explore is the table. The basic idea of a table persists across almost all database software and these concepts will transfer easily if you decide to move on to more advanced database tools in the future.
The table is where all of the data goes. Everything in a database is derived from the data definitions in the table fields and the actual data in records in the table. We will start from the ground up. Follow along with this tutorial starting with an empty database and you will have gained some experience building, editing, and tweaking tables as well as doing some light, not-too-strenuous data entry.
Tutorial
Designing the Database
The first step in building any database is to plan it. We have to decide on our database's basic structure. How many tables do we want? What fields should each table have? What data types would those fields have? There are many, many considerations in database design, but we will look at a simple example.
You have taken to collecting vinyl records (they're making a comback!). And since most of them are relatively inexpensive, you've acquired a lot of them in a fairly short period of time. You've decided that you want to keep better track of which ones you have. So you decide to build a database.
It's good to have this idea before we get started. There's a lot to cover, so I'll lay out the plan now and we will refer back to it as we move throughout this chapter. So don't worry if you don't know exactly what it means.
We will construct three tables. One for artists, one for genres, and one for albums. The album table is our primary table and will have the most fields. The others are supplementary and serve only to create relationships and organize the data.
The following diagram is what's called a UML diagram and gives us an idea of the structure of our tables:
 helps us to organize our thoughts.](images/tables/1.png)
These tables could probably be tweaked a little bit. You might want more or less information. The Albums table, for instance, might benefit from a field for the condition of the vinyl record. But these things can be added in later if we so desire. Though, it is possible that we may regret it later because it will be more data entry down the line.
Look at the connections between the three tables. We have one field in the Genre table called ID and it is connected to another field in the Albums table called GenreID. Make sense? Likewise, there is an ID field in the Artists table connected to the ArtistID in the Albums table.
Let's start building our tables
Creating a Database
-
Open Microsoft Access. Select Blank Database.
-
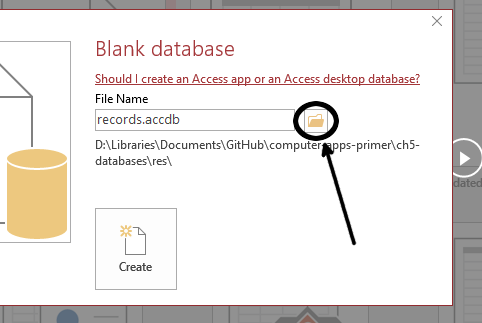
Click the folder icon and navigate to where you want to save it, and then change the name to records.
-
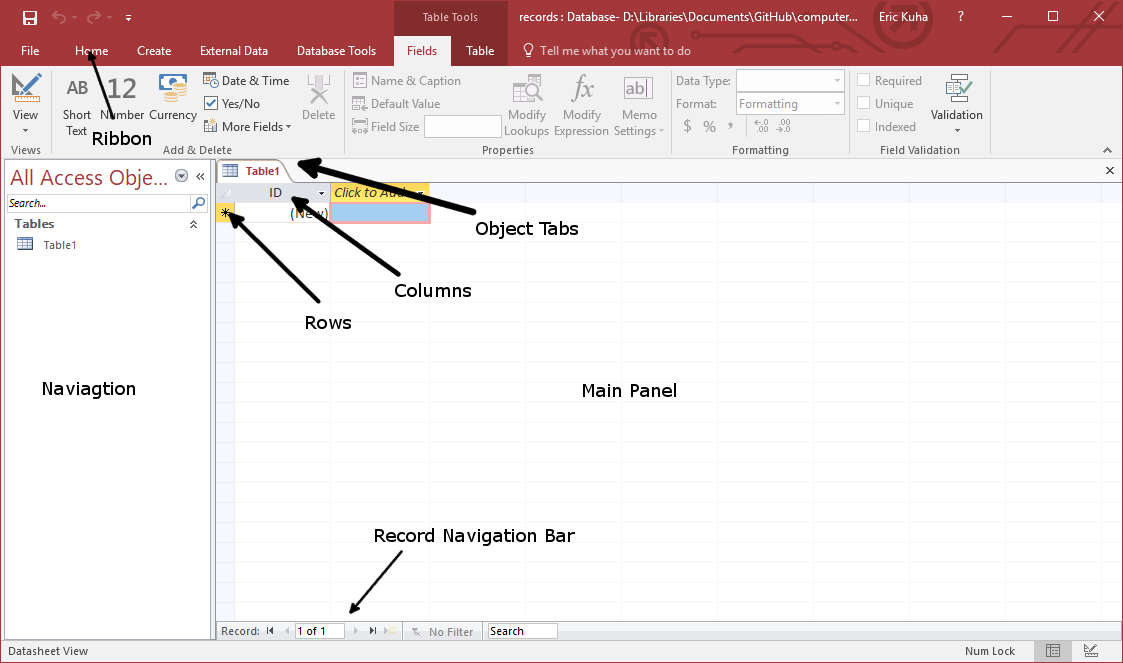
Now, you are in the Microsoft Access main interface. Here, you will build your tables, create relationships, generate reports, and do all of the other database stuff that we do. Let's take a look around.
Access Tour
There's a lot going on here, but only some of it is of immediate relevance to us. Let's take a look
- Ribbon
-
Just like other MS Office apps, the tool bar is a tabbed Ribbon. If you like, you should take a moment to see what's in each tab, even if you don't know what everything does yet.
- Navigation Pane
-
The left sidebar is a navigation pane which will show a list of all of the Access Objects currently created in our database. This will include all tables, queries, forms and reports. There are also tools here for sorting and filtering them.
- Main Panel
-
The largest part of the interface is the main work area. This will show the current "document" that you have selected. In this case, it's the initial empty table
- Object Tabs
-
Along the top of the main panel, you will see the tabs of all open "documents" so you can quicksly switch between them.
- Columns
-
Individual fields in a table are represented as columns. They have names. In your initial table, there is only one field, called ID.
- Rows
-
Individual records in a table are represented as rows. Each row is its own record. In this table, there are no records yet.
- Record Navigation Bar
-
Along the bottom of the main panel is a toolbar with buttons that you can use to navigate through a table, filter entries, or search for specific records.
Building the Artist table
Let’s start simple. We have three tables to construct. The first one we should look into is a table for each artist. Remember, you might have several albums by the same artist, and so this is our first clue that "Artists" need their own table.
-
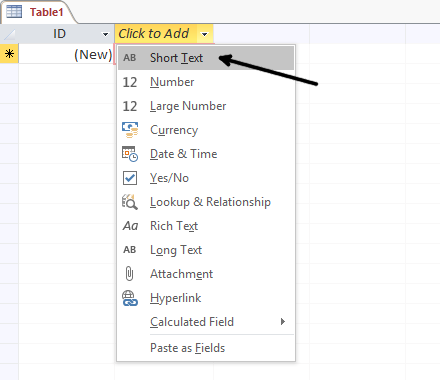
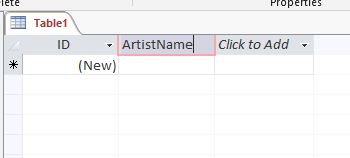
At the top of the table, where it says Click to Add, Click. Select Short Text for the type for this field.
-
Type ArtistName as the title of the field and press Enter. Note, while it’s not required, the convention is for all field names to be one word and so a further convention is to use “camel case”, capitalizing each word, to differentiate them. Like so:
-
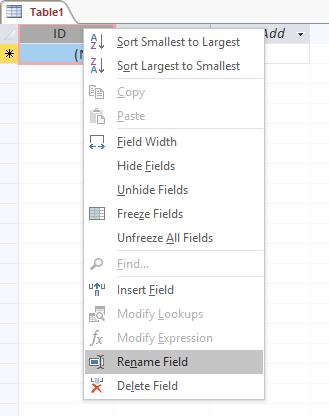
Next, let’s rename the ID field. Right-click on the ID title and select Rename. Type “ArtistID”.
-
This table is finished. Save the table. You will be prompted to name it. Call it Artists. Close the table.
Building the Album table
For the Album table, we will build the table in Design View, which gives us more granular control over how the table is constructed. For this part of the tutorial, we will create a table with the following structure:
| Field Name | Data Type | Description |
|---|---|---|
| AlbumID | AutoNumber | Primary Key |
| AlbumName | Short Text | |
| ReleaseDate | Number | |
| ArtistID | Number | Foreign Key |
| GenreID | Number | Foreign Key |
-
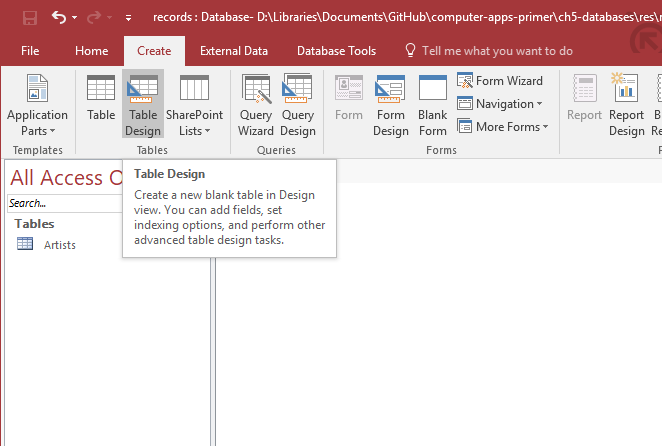
In the Create tab, select Table Design.
-
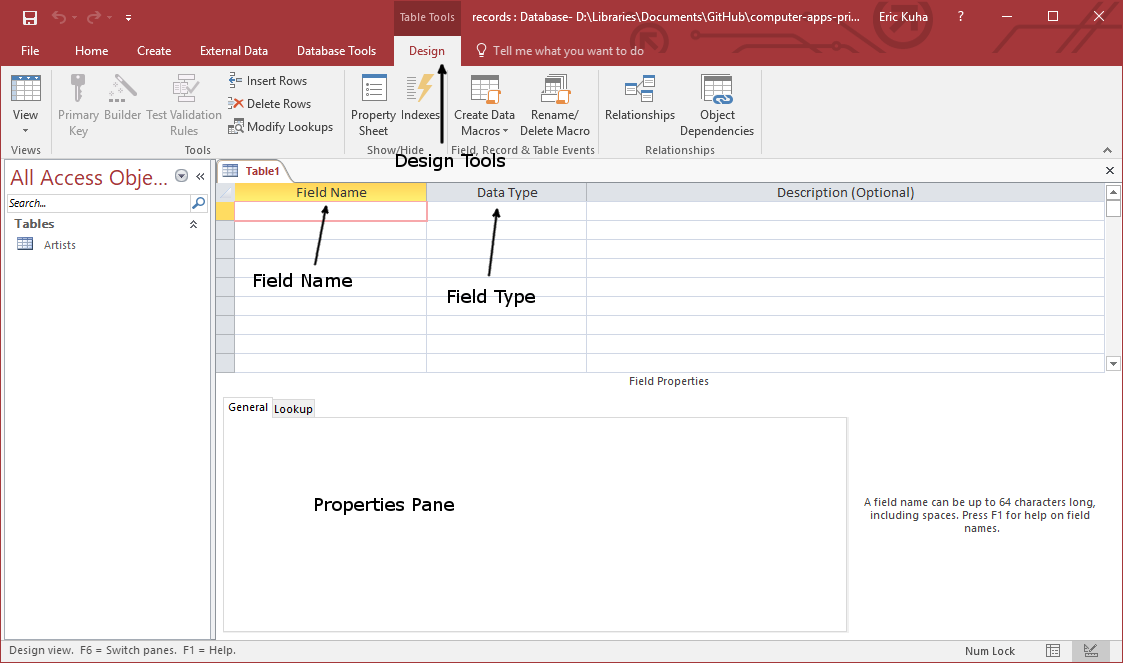
You will see a new interface. This is the table design view. Instead of showing the records in rows and columns, it shows the fields and their components.
-
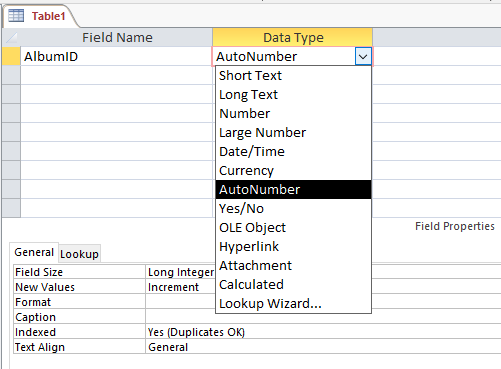
In the first row's Field Name cell, type AlbumID. In the Data Type cell dropdown menu, select AutoNumber.
Under Description, type Primary Key. This sets the field so that you never have to give it a value. Every time you create a new record in this table, it will automatically take the value of the next integer. Note, that if you delete a record, it won't fill in the vacant ID, so the highest numbered record is not necessarily an accurate count of the number of albums you own. The ID field is only there as a unique identifier of each record in the table. By giving it the description "Primary Key", we are reminding ourselves of the purpose of this field. It has not actual mechanical effect.
-
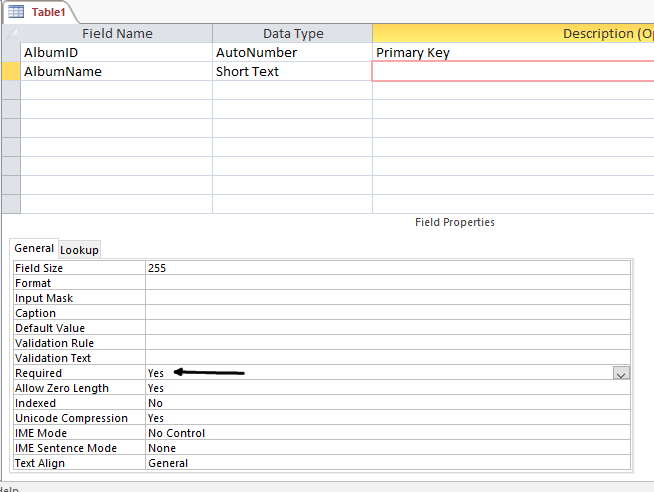
Give the next field the name AlbumName and the type Short Text. Note, Short Text is a data type that allows up to 255 characters in length. You can make it smaller to save space for very large databases, however, in this case, we'll leave it at that.

-
Now, look at the bottom of the panel at the Field Properties box. Here we can put restrictions on some of the things that users are allowed to do with the field. For example, every album must have a name, so we will set the Required property to Yes.
- The next field gets the name ReleaseDate. Give it the Data Type Number,(NOT DATE/TIME), and set Required to Yes.
-
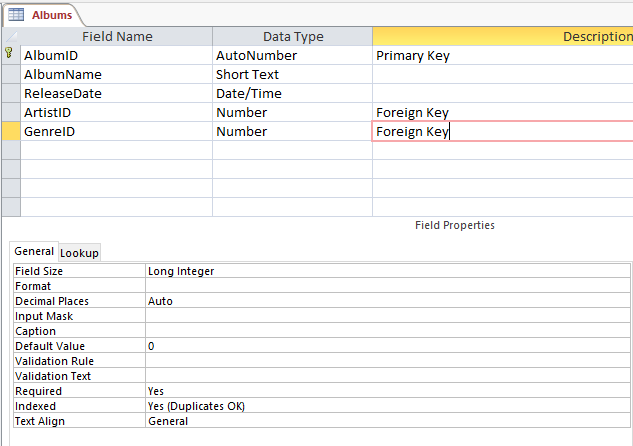
Make the other two fields as shown in the table above. Give them the description Foreign Key, as they will be used to build links to the other two tables in our database (later). And make sure they are Required fields. The finished table should look like this:
- You have one last thing to do before we can save and close the table. We need to set the ArtistID field as the Primary Key.
-
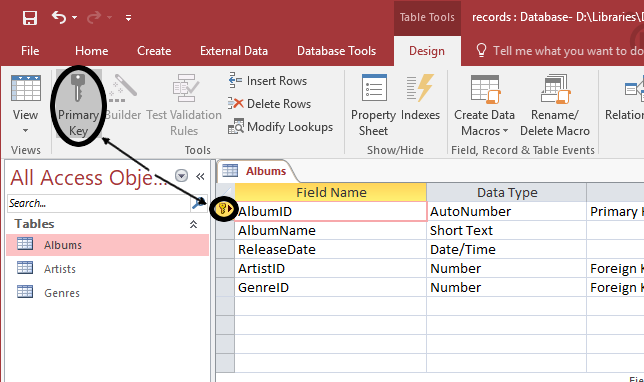
Click on the first field, AlbumID. In the Table Tools: Design tab, click the Primary Key tool to establish AlbumID as the primary key for this table.
- This table is complete for now. Save the table by hitting the Save button or pressing Ctrl-s. Name the table Albums. and close it.
The Genre Table
| Field Name | Data Type | Description |
|---|---|---|
| GenreID | Number | Primary Key |
| GenreName | Short Text |
-
Like the Artists table, the Genres table has only two fields. The name of the genre and its primary key. Build it according to the scheme outlined above.
NOTE: The screenshots here all say AutoNumber for this data type. Use Number instead, because it will make populating this table a lot easier later on.
-
When you are finished, save the table and close it.
Saving and compacting your database
One last thing before we upload this. As databases grow, they can become fragmented and take up more space than they need to on the hard drive. To this end, Access includes a utility to compact the database so that it is smaller and more manageable.
- First, save and close all open tables.
- Click the File tab.
- In the backstage view, click the large button that says Compact & Repair.
That’s it. Close it and upload your database in this form to the portal. Note: It is important that you close it before uploading it. Opening a database actually creates a second file in the folder with the database file. The database file has the .accdb extension. This new file has the .laccdb extension. It's a locking file that prevents two people from editing the same database at the same time. It's for security. That said, I have had students upload the lock file before and it creates a fair bit of confusion. So to prevent this, make sure you close the database first, which deletes the locking file and then there's no confusion.